Published: Sun 02 August 2015
By moop
In Things .
tags: Speed Twin Things
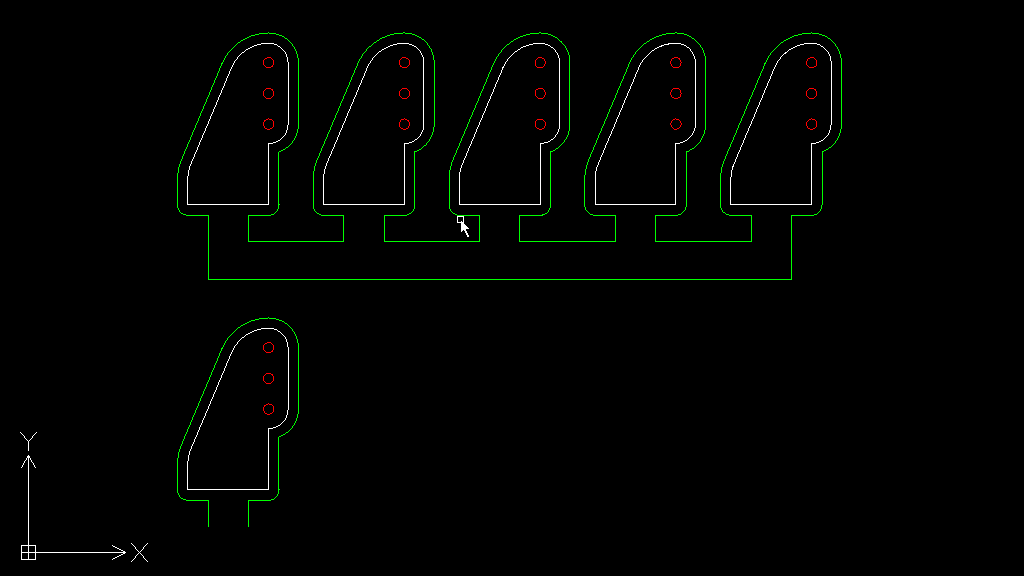
Recently I've been focussed on finishing off my radio controlled model
SpeedTwin ST-2. This guy is not the biggest model I've built in terms of
wingspan, but it wins in terms of chunkiness and complexity. I started
it in 2012, but it stalled at some point because everything was blocked
by scary "one shot or it's ruined" style tasks. I recently dug it out
and decided to get these things over with so I could get it back on
track.
The fuselage was stalled as the servos and radio receiver needed fitting
before any progress could be made, as they would soon be difficult or
impossible to access. After fitting the servos I coated a sheet of
1/16th balsa with epoxy and stuck it to another block coated with tape,
shiny side out. Once the epoxy was dry the taped sheet was removed
leaving a perfectly smooth surface which the receiver could be stuck to
with double sided foam tape. I glued this mounting to the side of the
fuselage with a few balsa rails so it could be easily removed if
necessary but was still securely fitted. This was mounted behind the
canopy area in a spot that was still accessible while being as far as
possible from interference from the battery and speed controllers. This
location also provided a convenient spot to mount the antenna
vertically.
With the servos and receiver installed the decking on the rear of the
fuselage could be added. This is designed to form a skin over the
formers and spine of the fuselage and give it the correct final shape
without having to use excessive material or sand material away. To fit
this I first figured out the best way to have the grain match the
curvature of the surface and cut some 1/16th balsa to shape. After a few
test fits this was glued where it meets the fuselage sides and left to
dry. It was then curved around the formers and glued a bit at a time to
avoid overstressing the material. Despite this a crack formed at the
very rear. I was able to fix this by glueing and pinning it in place and
sanding it smooth later. Once this was glued on I cut the sheeting down
the centreline and repeated the process for the second half.
[gallery ids="876,890,892"]
With the rear of the fuselage essentially finished I moved on to the
front end. The nose was built up from blocks of 1/2 and 1/4 inch balsa
which were glued on and then sanded to shape. This process requires a
lot of sanding allows for nice curves to be shaped easily. The canopy
was built in a similar way but from a block of blue foam glued to a
balsa base. The foam was shaped to the correct profile with my hot wire
cutter and then sanded the rest of the way. A 1/64th ply windscreen
section finishes it off. The canopy base has some rails glued to the
bottom which locate into the opening on the fuselage. The canopy is then
held in place with a dowel at the back and will eventually have a catch
installed at the front.
[gallery ids="878,838,842"]
At this point the fuselage was basically finished except for the
covering. I decided to use a lightweight fibreglass technique for this
with 25gsm glass cloth and water based polyurethane instead of epoxy
resin. An internet search will provide plenty of good instructions on
this process so I won't expand upon it here.
With the fuselage out of the way there still remained a lot of work to
be done on the wing.
First the leading edge of the wing (formed from a strip of pre-shaped
balsa) was glued on to the front of the wing and sanded to match the
wing's taper. With this in place I was able to locate the wing in the
fuselage and measure from the tips to the rear of the model. Once these
measurements and the measurement from each wingtip to the fuselage
matched I was convinced the wing was aligned correctly. I drilled a hole
for a locating dowel into the front of the wing through a hole in one of
the formers and another hole through the wing so it can be held in place
by a nylon bolt. The dowel and bolt will provide a secure and repeatable
fit for the wing (but hopefully the nylon bolt will break instead of the
wing in the event of a crash).
The next part of the wing that needed attention was the engine nacelles.
The original has huge engines hidden inside bulbous nacelles which
needed to be recreated (even though my motors are relatively tiny). I
chose to use the designer's recommended method for this which is to
plank the nacelles by glueing strips of wood over formers, with some
foam parts where the curvature made this impractical. I decided to build
these in two parts with the upper part permanently attached and the
lower part removable in case access to the landing gear mounting points
was needed later.
[gallery ids="881,884,885,886,859,867,866,865,848,840,851"]
During this process I ended up making a second hot wire cutter for
making parts that needed square edges (at least before sanding) and for
parts that needed a consistent thickness. This consisted of a frame made
from an old speaker cabinet with a hole drilled in the centre. A screw
inside the hole mounts the bottom of the hot wire which runs to a
similar hole at the top. The top of the wire is mounted to a spring (for
tension) attached to a block which can be moved about and clamped in
place. Spacers under the block that holds the top of the wire allow
adjustment of the sprint tension. A thin strip of wood attached to the
table with a smooth shank screw makes a fence which can be clamped in
place to cut parts to a consistent thickness.
The planking was slow and tedious but performed in short bursts - adding
a few strips and leaving the glue to cure while doing something else.
Unfortunately I wanted to build the upper nacelles first, so the
removable section could be built to fit them. I learnt partway through
that using softer wood was better for this process and the lower
nacelles came out nice and smooth with just sanding. The upper nacelles
made from harder balsa required quite a bit of filler and some
reinforcement from beneath to get them nice and smooth.
[gallery ids="872,870,861"]
My motors will fit on the front of the part of the nacelles shown above,
with an extra bit of foam that will be sanded to shape to hide the motor
and provide a nicely shaped front section to the nacelle.
Once the nacelles were built I installed the landing gear struts using
some P shaped clips made from brass. These were made by folding brass
strip around the landing gear wire using a vice, drilling a hole in the
correct place then trimming them to size. This allowed the struts to be
bolted to plates attached to the underside of the wing. A hole had to be
cut into the lower nacelles in a suitable place for the strut to fit
through, with some clearance to avoid damage if/when the wire flexes.
Cutting these holes was a bit nerve wracking after spending so much time
on the nacelles, but after measuring several times I was able to hit the
correct location first time (with some extension of the holes to fine
tune the fit).
Finally the wing tips were cut from from blocks of balsa, roughly shaped
and then attached and sanded to their final shape.
Once the wing was complete I did several passes to check for dents and
other issues (which were fixed up with filler) before glassing it in the
same way as the fuselage. The nacelles were glassed first followed by
the rest of the wing, with cut outs around the upper nacelle area to
avoid the extra curvature causing problems.
Glassing the fuselage added about 30g to the fuselage (which originally
weighed about 235g) and 50g to the wing, which originally weighed about
495g. This is not a problem and well worth it for a sturdy finish. As
the numbers show, most of the weight and complexity of this model is in
the wing since it's a twin engine design.
This brings the project pretty much up to date, and all that remains is
the last 10% which will probably take 90% of the time!